If you run multiple self-hosted services on a single VPS — a Jellyfin for media, an Immich for photos, a Vaultwarden for passwords, a Gitea for code — you’ve faced a real problem: How do they all share port 443 with automatic HTTPS?
The traditional options are: Caddy is elegant but still requires learning a DSL; Nginx is the most powerful but its config syntax is notoriously painful. Nginx Proxy Manager (NPM) offers a third path: a clean, complete web UI that lets you configure reverse proxies and SSL by clicking in a browser.
In this guide, you’ll learn:
- Deploy NPM in one minute with Docker Compose
- Add proxy hosts through the Web UI
- Automatically request and renew Let’s Encrypt SSL certificates
- Configure access lists, IP whitelists, and basic auth
- Enable WebSocket and HTTP/2 support
- Advanced: custom location blocks and TCP stream proxying
What is Nginx Proxy Manager?
Nginx Proxy Manager (NPM) is a reverse proxy management dashboard built on top of Nginx, created by jc21 and open-sourced under the MIT license. Its core idea is simple: visualize Nginx configuration.
You never need to remember server {} block syntax, manually concatenate ssl_certificate paths, or wrestle with certbot on the command line. Open a browser, enter the domain, pick a port, check “SSL” — the system generates the config, requests the certificate, and renews it automatically.
Key features:
| Feature | Description |
|---|---|
| Web UI Management | Browser-based, zero CLI dependency |
| Auto SSL | Built-in Let’s Encrypt client with auto-renewal |
| Access Control | IP whitelist/blacklist, basic auth, Access Lists |
| Multi-user | Role-based access separation |
| Streaming Proxy | WebSocket, TCP/UDP forwarding (advanced mode) |
| Free & Open Source | MIT license, 5.5k+ GitHub stars |
1. Docker Compose Deployment
Docker Compose is the recommended way to deploy NPM.
mkdir -p ~/nginx-proxy-manager && cd ~/nginx-proxy-manager
Create docker-compose.yml:
version: '3.8'

services:
  app:
    image: 'jc21/nginx-proxy-manager:latest'
    restart: unless-stopped
    ports:
      # HTTP entry point
      - '80:80'
      # HTTPS entry point (SSL reverse proxy)
      - '443:443'
      # NPM Admin Panel
      - '81:81'
    volumes:
      # Persist config, certs, database
      - ./data:/data
      - ./letsencrypt:/etc/letsencrypt
    environment:
      DB_SQLITE_FILE: "/data/database.sqlite"
Start it up:
docker compose up -d
⚠️ Important: If existing services on your VPS already use ports 80/443, stop them first, or map NPM’s ports elsewhere (though Let’s Encrypt HTTP validation requires port 80 by default).
Firewall Configuration
Ensure your cloud provider’s security group and server firewall allow ports 80, 443, and 81:
# ufw
ufw allow 80/tcp
ufw allow 443/tcp
ufw allow 81/tcp

# or iptables
iptables -A INPUT -p tcp --dport 80 -j ACCEPT
iptables -A INPUT -p tcp --dport 443 -j ACCEPT
iptables -A INPUT -p tcp --dport 81 -j ACCEPT
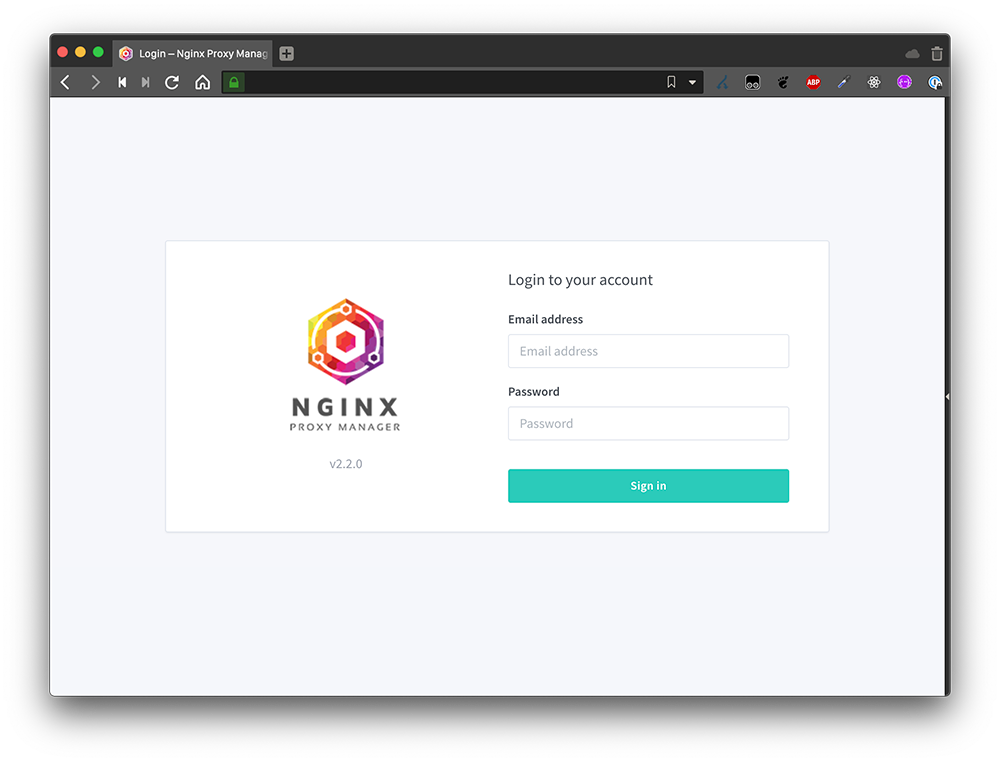
2. First Login & Initial Setup
Open your browser and visit http://YOUR_VPS_IP:81.
Default admin credentials:
- Email:
admin@example.com - Password:
changeme
You’ll be forced to change both email and password on first login — use a strong password.
After login, you’ll see the clean Dashboard showing:
- Number of proxy hosts
- SSL certificates count
- Access lists count
- System status
3. Adding Your First Proxy Host
Let’s say you have a Jellyfin media server running in Docker on port 8096, and you want to access it via jellyfin.yourdomain.com.
Steps
- Click Hosts → Proxy Hosts in the left sidebar
- Click Add Proxy Host (top-right button)

Fill in the details:
| Field | Value | Notes |
|---|---|---|
| Domain Names | jellyfin.yourdomain.com | Comma-separate multiple domains |
| Scheme | http | Use http if upstream is HTTP |
| Forward Hostname / IP | 172.17.0.2 or jellyfin | Docker container name or IP |
| Forward Port | 8096 | Upstream service port |
| Cache Assets | ❌ | Don’t cache dynamic content |
| Block Common Exploits | ✅ | Recommended for security |
| Websockets Support | ✅ | Enable if service needs WebSocket |
Configure SSL
Switch to the SSL tab:
- SSL Certificate → Select Request a new SSL Certificate
- Enter your email (for Let’s Encrypt renewal notices)
- Check I agree to the Let’s Encrypt Terms of Service
- Click Save
The system will automatically:
- Perform Let’s Encrypt HTTP-01 validation
- Issue the certificate
- Save it to the database
- Reload Nginx with the new config
The whole process takes 10-30 seconds. Your service is now accessible via https://jellyfin.yourdomain.com.
4. SSL Certificate Management
NPM makes SSL management worry-free.
View Certificates
Left sidebar → SSL Certificates to see all issued certificates and their expiry dates.
Auto-Renewal
NPM has a built-in daily cron job that checks and renews certificates nearing expiry. You never need to run certbot renew manually.
Using Existing Certificates
If you already have a wildcard certificate, you can import it manually:
- SSL Certificates → Add SSL Certificate → Custom
- Paste the certificate and private key
- Save, then select it in the proxy host’s SSL tab
DNS Challenge (Wildcard Certificates)
NPM supports DNS Challenge for *.yourdomain.com wildcard certificates. You’ll need DNS provider API credentials:
- SSL Certificates → Add SSL Certificate → Let’s Encrypt
- Use DNS Challenge → Select your DNS provider
- Enter API credentials
- Request the certificate
Supported DNS providers: Cloudflare, AWS Route53, DNSPod, Alibaba Cloud DNS, and dozens more.
5. Access Lists & Security Hardening
Creating Access Lists
Left sidebar → Access Lists:
- Click Add Access List
- Name it (e.g., “Home Whitelist”)
- Add authorization rules:
- Satisfy Any: Allow if any rule matches
- Satisfy All: Must match all rules
Rule types:
| Type | Example | Purpose |
|---|---|---|
| Allow | 192.168.1.0/24 | Allow local network range |
| Deny | 0.0.0.0/0 | Deny everyone (use with whitelist) |
| Satisfy Any | — | Login OR IP whitelist passes |
Basic Auth
In an Access List, you can add users (username + password). Visitors will see an HTTP Basic Auth dialog before accessing the proxied service. Great for:
- Admin panels
- Staging environments
- Services you don’t want public
6. Advanced Configuration
Custom Nginx Configuration
In the proxy host’s Advanced tab, you can insert custom Nginx config snippets. For example:
# Limit upload size
client_max_body_size 100M;

# Security headers
add_header X-Frame-Options "SAMEORIGIN" always;
add_header X-Content-Type-Options "nosniff" always;
add_header Strict-Transport-Security "max-age=31536000" always;
WebSocket Support
Edit a proxy host → Advanced tab, ensure Websocket Support is enabled. NPM adds these directives automatically:
proxy_set_header Upgrade $http_upgrade;
proxy_set_header Connection "upgrade";
Redirects & Custom 404 Pages
Left sidebar → Hosts → Redirection Hosts lets you create:
- 301 Permanent Redirect: Move old domains to new ones
- 302 Temporary Redirect: For maintenance mode
Dead Hosts lets you customize the 404 page.
TCP/UDP Stream Proxying
NPM supports TCP/UDP stream proxying for non-HTTP services like SSH or databases:
Left sidebar → Hosts → Streams → Add Stream
| Field | Example | Description |
|---|---|---|
| Incoming Port | 2222 | Port NPM listens on |
| Forward Host | 192.168.1.10 | Target server IP |
| Forward Port | 22 | Target SSH port |
7. Operations & Maintenance
Backup & Restore
All NPM config is stored in a SQLite database. Back up the ./data directory:
# Backup
tar czf npm-backup-$(date +%Y%m%d).tar.gz ./data ./letsencrypt

# Restore
tar xzf npm-backup-20260601.tar.gz
docker compose restart
Viewing Logs
# Real-time logs
docker compose logs -f

# Nginx access log
docker exec -it nginx-proxy-manager-app-1 cat /data/logs/default-host.log
Updating
docker compose pull
docker compose up -d
DNS with Cloudflare
Recommended setup with Cloudflare DNS:
- Point your domain’s NS records to Cloudflare
- Add A records pointing to your VPS IP
- In NPM, select Cloudflare DNS Challenge when requesting certs
- A wildcard cert covers all subdomains in one go
8. NPM vs Caddy vs Traefik
| Feature | Nginx Proxy Manager | Caddy v2 | Traefik |
|---|---|---|---|
| Web UI | ✅ Full UI | ❌ None | ✅ Beautiful Dashboard |
| Configuration Difficulty | ⭐ (Very Easy) | ⭐⭐ (Easy) | ⭐⭐⭐ (Moderate) |
| Auto HTTPS | ✅ Let’s Encrypt | ✅ Fully automatic | ✅ Let’s Encrypt |
| Hot Reload | ✅ Save & apply | ❌ Needs reload | ✅ Auto-discovery |
| Container Auto-Discovery | ❌ Manual | ❌ Manual | ✅ Docker labels |
| Custom Nginx | ✅ Advanced tab | ❌ Not needed | ❌ |
| Resource Usage | Moderate | Very low | Moderate |
| Learning Curve | Gentle | Gentle | Steeper |
Which one should you pick?
- I just want to click and never write config → NPM
- I want minimalism and don’t mind a few lines of config → Caddy
- Everything is containers, maybe even Kubernetes → Traefik
9. Troubleshooting
Q: Let’s Encrypt validation fails?
A: The most common cause is port 80 being unreachable. Check:
- VPS firewall allows port 80
- DNS A record points to your VPS IP
- No other service is binding port 80
Q: The proxied service won’t load?
A: Verify:
- The upstream service is running
- Docker networking allows connectivity (use container names instead of IPs)
- The forward port is correct
Q: How to make Docker containers reachable by name?
A: Ensure NPM and the upstream service share a Docker network:
# in docker-compose.yml
networks:
  npm_network:
    external: true
Or simpler: attach NPM to the upstream service’s existing network:
docker network connect upstream_network nginx-proxy-manager-app-1
Q: How to restrict the admin panel to local access only?
A: Modify docker-compose.yml to listen only on localhost:
ports:
  - '127.0.0.1:81:81'
Then access via SSH tunnel:
ssh -L 8081:127.0.0.1:81 root@YOUR_VPS_IP
Summary
Nginx Proxy Manager is one of the most approachable self-hosted reverse proxy solutions available. It’s perfect if you don’t want to wrangle configuration files and just want to get your services online quickly and securely. Combined with Docker’s convenience and Let’s Encrypt’s automation, you can have your first HTTPS service live in under 5 minutes.
That said, it has limitations: the Web UI can’t cover every Nginx feature, and complex scenarios (gRPC, advanced load balancing) require falling back to manual config. But it handles 90% of everyday use cases with ease.
Next steps:
- Proxy all your services (Jellyfin, Immich, Vaultwarden, Gitea) behind NPM
- Combine with Cloudflare Tunnel for zero public IP exposure
- Use Access Lists to create secure tunnel solutions for your family
Your time is better spent building and improving your services — not writing Nginx config files.